Now that we have a module that does absolutely nothing, let's add it to a course. This will give us some confidence on the plug-in architecture, and give us some visual cues on where we need to go as we beef up the module.
So. . .
Let us proceed and add our non-activity module to a course!!!! Hurrah!
Now that the module is installed, we can navigate to a course:
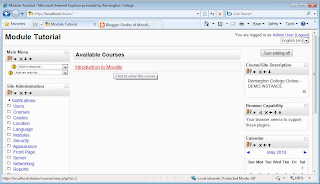
Click Image to Zoom
Once on the course page, ensure editing is turned on:
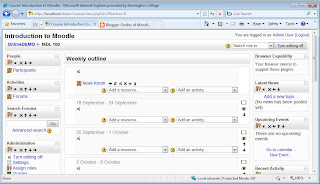
Click Image to Zoom
Pick one of the course weeks or topics and select our activity (inyourface) from the Activity drop down list:
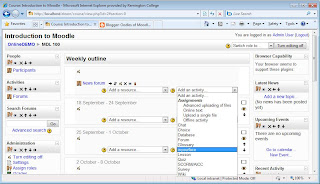
Click Image to Zoom
Fill out our (currently very ugly and rather sparse) activity definition form and click on the "Save and Display" button:
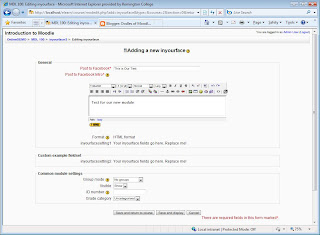
Click Image to Zoom
You will now see our activity... with a disheartening message: "Your Code Goes Here"
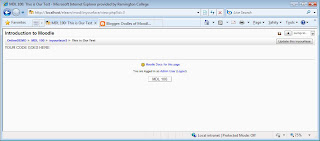
Click Image to Zoom
Actually, that's the GOOD NEWS!
We can now get to work on our module.
It is registered, Moodle recognizes it as a valid plug-in
and we can add it to courses!!!
Next Article in Series


No comments:
Post a Comment